BLOGS
BLOGS  NEWSROOM
  CASE STUDIES
  WEBINARS
  PODCASTS
  ASSET HUB
  EVENT CALENDAR


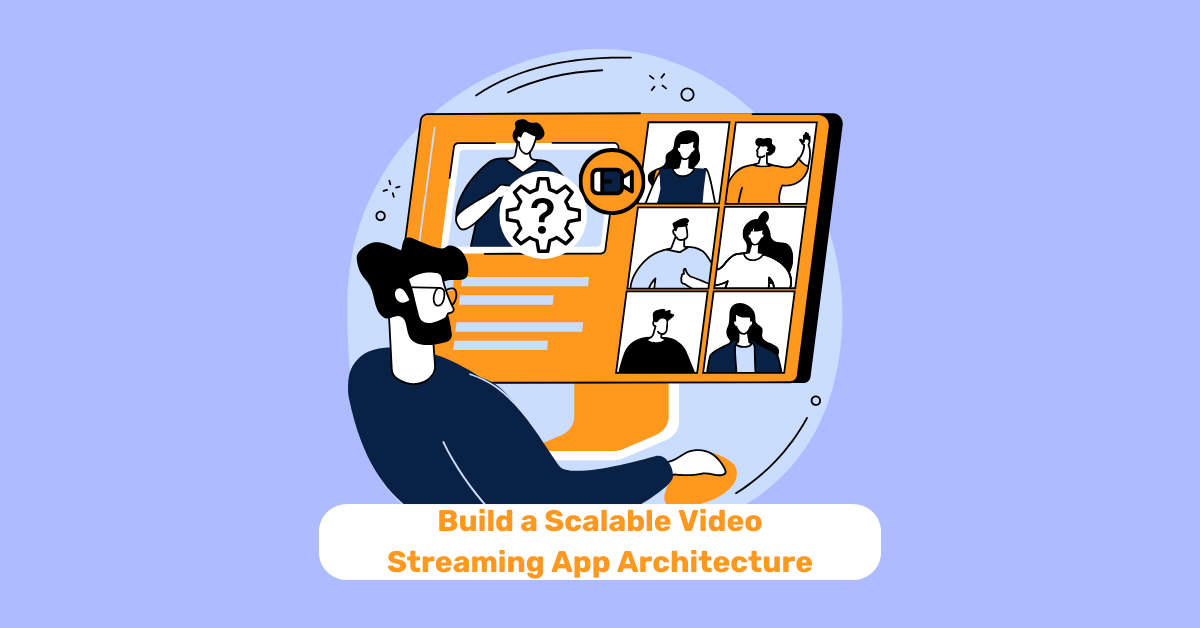
What is Video Streaming?
First, what exactly is “streaming”? Streaming is the continuous transmission of audio and video files from the server to the client, which are then played on the client side, whether on a phone, laptop, TV, or any other such device. If we download a video or audio, the time spent downloading is longer than checking out the video or audio in real time, and in terms of cost, prospective streaming is less expensive than downloading media files.
Many applications are available that provide video streaming and will support video on demand and live event streaming, such as Netflix, Amazon Prime Video, Twitch, Disney Plus Hotstar, YouTube, and so on. In such applications, depending on the viewer’s demand for video, the content of the video will be streamed, and the viewer can view it in a fraction of a second without any delay.
For video streaming, the AWS media service is available, which gives video providers an uncompromising set of features at the critical stage of the video workflow. It basically represents the core feature in terms of flexibility and an easy-to-use workflow; it includes live video transport, file-based transport transcoding, live video encoding origin and packing, and media storage delivered at broadcast-grade services.

Before proceeding to mediaConvert, you first need to know about file-based transcoding, which most of us know about and may be aware of, but essentially you want to draw the distinction between file-based transcoding and live-based streaming.
File-Based Transcoding
So file-based transcoding is when you have a source of content in the form of files, which could have been shot in a studio environment or on a cell phone or anywhere else, and you really want to process this content because that’s the only way you get different versions that will play on a range of devices, and as part of this processing, you might change the resolution or the frame rate, and if it’s premium content, you might change the frame rate. you might want to apply encryption DRM because you want a sort of control access rights to the piece of content.

Unlike live streaming, a real stream constraint where you need to process video file-based transcoding can go fast or slow as per the underlying hardware, which allows you to have control over quality settings, resolution, and other things.
Many customers use on-premise solutions; what are the challenges of on-premise solutions, and what are the challenges of cloud-based solutions?
As a result, by introducing the AWS MediaConvert Element, we hope to make it very simple for customers to build broadcast infrastructure, create great cloud workflows, and access professional-grade video features and quality.
Challenges with Cloud-based Transcoding
- Not suited for broadcast grade video and quality
- Limited scalability and spotty support
- Complicated pricing and manual on-boarding issues
- Not easy to build end to end workflows
The same capabilities that the elemental server has offered over the years in terms of services mean that there is no need to manage software and hardware information. Combining on-premises and cloud solutions means getting access to the full range of capabilities without having to manage any infrastructure.
The service scales up automatically in response to variations in incoming video volumes, so as a customer, you don’t have to worry about a sudden spike, and media convert is responsible for identifying that and figuring out scale-ups and a new instance to handle that spike in video volume.
Finally, we can manage capacities based on how the customer wanted to build workflow and prioritize jobs, or we can control the job execution order number, as shown below:
Key Component of AWS MediaConvert Element
- JOB
- QUEUE
- PRESET
- JOB TEMPLATE

The primary unit, JOB, is basically made of input, output, and a bunch of settings that decide what output needs to be created. A Job can also have metadata. It is basically a key-value pair that you define and sort of preserve with the job if you want to enable tracking, and, in the case of intelligence, all of these settings define a particular output, so there is bit rate, resolution, and things like that.
You can set them as presets; each preset basically gives an output, and together they are called an “output group.” So you can imagine creating one job and creating more outputs, so basically you get more hardware and different formats of videos. We can create them as per our requirements and save them as job templates, and we can reuse this template again and again for different inputs.
Every job must be submitted to queues, and they manage jobs based on priority, so resources refer to the number of jobs you can process in parallel at any given time. Every job must be submitted to queues, and by default, every account has access to approximately 40 slots that can be used to process jobs in parallel.
Suppose you have submitted 100 jobs to the queue. 40 slots remain; those start the process immediately, and the remaining 60 wait in the queue managed by media convert and stay in the queue as long as one of the slots doesn’t open up. Once the first 40 jobs are completed, the next 60 will be processed, and the remaining jobs will be scheduled or queued. In this use case, you have higher vs. lower priority jobs, so if you have to process a job after a month and the job needs to run urgently, it is a higher priority, so you can create an additional queue in the account, which will spread the resources of availability in the account.
It essentially creates a reserve lane, creating 20 jobs in parallel, so that 20 slots are free for priority jobs, and the output created will be placed in S3, so when submitting a job, it goes through the job state and processing state, where either it completes successfully or fails.
For the complete or error state of the job event, the media converter publishes an event to the cloud watch and notifies subscribers via email or SMS, depending on the configuration of the SNS service, which can be automated using Lambda on the serverless platform.
Elevate Your Business to New Heights with Mindbowser's AWS Managed Services
AWS Element MediaConvert Pricing
The mediaConverter has no minimum fees; you can pay as you go based on a model and rate based on the duration of the output video, and you have to pay for the services you are using.

AWS Element MediaConvert Use Case
Some of its applications, such as university events for online education on the News channel sports media converter, are being used on a variety of social platforms, including the recently redefined Amazon Prime Video and Hotstar, and many enterprises are even using it for video streaming.
- Content Creation or VOD Delivery
- User Generated Content
- Online Education
- News and Sports
- Social Video
- Product
- Enterprise
- Events
AWS Element MediaConvert Benefits
Some of the benefits of mediaConvert include scalability and performance in business, as well as a risk reduction feature for broadcast workflows in the cloud for many organizations.
- Broadcast Grade Workflows in the Cloud
- Shorten Time To Market and Iterate
- Reduced Financial Risk
- Massively Scalable and Performant
- Robust and Resilient Workflow
Architecture Flow for AWS MediaConvert
Let’s take a look at the architectural flow. As you can see, there are two buckets: the source bucket and the destination bucket. When there is an input to the source bucket, the s3 triggers and sends it to the lambda function, which consists of a convert.py file that triggers the media convert service, which has the preset settings already set to convert files to desk and store them in the destination bucket.

Now, whenever the media converter is inactive, an event-based event is generated in the event bridge, and there is a media converter that tells its complete or error activity, so it will notify the admin or user via the SNS service as configured, such as SMS, email, and so on.
So let’s go to the console and try it now. These consist of the following steps:
then click on the Next: Permissions button, then select AWSLambdaBasicExecutionRole and AmazonS3FullAccess from the policies, and create a role.
- Create an IAM role
- Make an S3 bucket.
- Create Lambda function
- Create JOB
- Testing and check logs
1. Create IAM role
In my case, I had already created an IAM role with the necessary policies and permissions, but you can ensure that your IAM role has the following basic policies:
- AmazonS3FullAccess
- AmazonAPIGatewayInvokeFullAccess
- AWSLambdaBasicExecutionRole
- AWSElementalMediaConvertFullAccess
- CloudWatchLogsReadOnlyAccess
🔹 My IAM user has granted me these permissions.
🔹 Create a role for a lambda function named MediaLambdaRole, or you can create a role when you create a job.


🔹 Type MediaLambdaRole into the filter box on the Roles page and choose the role you just created. On the Permissions tab, click on the Create Inline Policy link and choose the JSON tab.

🔹 Copy and paste the following JSON in the Policy Document Box. You will need to edit this policy in the next step to fill in the resources for your application.

You can get this JSON here
🔹 Final step of creating policy Create a policy with the valid name “MediaLambdaPolicy.”

2. Create an S3 Bucket
We have to create two S3 buckets, one to take input and another to store our expected output as converted files, so go to your S3 service and create the first bucket named vod-output-test and vod-inputmedia-test.


🔹 Once you create buckets go to the output bucket i.e vod-output-test and add Cross-origin resource sharing (CORS) details from here and save.

3. Create Lambda Function
In the AWS console, create a lambda function named VODLambdaConvert with Python 3.8, add permissions to the existing role we created earlier, and then finally create the function.

🔹 You can see this after successfully creating a lambda function.

🔹 Then click on “upload file.” Select “upload a zip file” (zip file) from your computer, then select and save the zip file.

After successful upload of the zip file, you can see two files: one is called convert.py, where we process HLS (Http Live Streaming), mp4 files, and thumbnail files. In short, HLS (Http Live Streaming) is a media streaming protocol for delivering visual and audio media to viewers over the internet.
🔹 In this.py file function, we take video from the source bucket and convert it, then store or save it into the destination buckets as per requirements and presets already given in the pipeline.

🔹 Another file is called “Job. JSON” specifies the custom file name, HLS, and which format we have to convert with different parameters. In short, it contains the different settings for output video.

🔹 Update the handler name to convert.handler by editing runtime settings.

🔹 General configuration updates are as follows:

Configuration of Environment Variables
Now, update the lambda function’s environment variables and configurations.

Triggers
Make certain that the trigger point is added to the input bucket rather than the output bucket.

Test Event


🔹 After passing the test, you should see something like this:

4. Create Job

🔹 Click “Import Job,” upload a json file (you can get JSON here) , make the necessary changes in the json file, and make some changes that I have made, which you can see below.
🔹 Check the input file source path.

🔹 Check the destination file path.

🔹 Check the thumbnail file path.


🔹 In the job settings, look for the AWS Integration setting.It’s an important setting where we are going to give MediaConvert permission to access your resources to run transcoding jobs.


🔹 You can also assign a new role from the job creation screen.

In our case we keep as use existing role and select role
Keep the rest of the settings as is, or if you want to change anything, do so, but be careful because your output video and audio are dependent on the settings of the presets and so on that you added.
Click on “Refresh” and check status


🔹 Go to the jobs page and check your job status.

Check Outputs


5. Testing and Check Logs
Download a video or get any video from your computer and upload it to the input bucket.


🔹 Then go to the job and determine when it should begin and end.Check the status: it’s completed.


🔹 Go to the output bucket and check that there is one folder created called assets/.

🔹 There are various video output formats available.

Output
https://vod-output-test.s3.amazonaws.com/assets/6aadc8c9-5b4f-41f6-9149-96b9425377dd/HLS/video.m3u8
Logs


Please check Testing Video
Conclusion
This blog helps you understand how we can start with mediaConvert and how it’s useful for streaming video in different formats.
Video streaming involves continuous transmission of audio and video files from server to client in real-time. AWS MediaConvert offers powerful file-based transcoding, enabling content optimization for different devices and formats. Its scalability, performance, and cost-effective pricing make it ideal for delivering high-quality video experiences and supporting diverse applications like education and sports streaming.
I hope you like this and learn something useful from it!
Thanks for reading! Happy learning!