


 BLOGS
BLOGS  NEWSROOM
  CASE STUDIES
  WEBINARS
  PODCASTS
  ASSET HUB
  EVENT CALENDAR


Once you have zeroed in on an idea, your product development process is primarily divided into 4 key phases-
- The design
- The decision
- The development
- The launch phase
To make your product successful, it is important that each product development step goes through in a proper manner. Breaking down the complete product development process into smaller phases also helps you to plan on that individual cog at a time rather than the full product. You can then work to make that small steps count, set up a goal and timeline for it, get help on it and execute it to perfection.

1. Design Phase
The design phase is mainly focused on discovering the various solutions that are possible and zeroing in on what really works best for end-users. Just like you cannot have a carpenter design your house, your software cannot start with developers. The software has to start with design first. During this phase, you have to make decisions regarding the usability and user experience. You have to prioritize what goes in the product and what stays for later release. This phase results in building a blueprint for the development.
Your primary skill during this phase would be to fix upon your vision and articulate it well with your team. This way the team that would primarily consist of the UX and analysts make decisions in line with your mission.
It would be helpful to understand what constitutes a good design. What makes top apps really tick and what really does your user want?
The steps included in this stage are:
 Following the Design Process:
A Design Sprint or equivalent process should be set up to articulate understanding of users, research, usability and priorities. The idea is to work through the different solutions possible and create a chartered path for the team to follow.
A Design Sprint is a unique process for validating ideas and solving big challenges through prototyping and testing ideas with customers.
An aspect that I primarily like about this phase is the encouragement for founders to speak with real users, interviewing them and understanding their expectations.
Carving out User Persona:
User persona, though a fictional character, reflects your real user and helps the team understand the user to be able to make decisions for the user.
Persona is an important aspect in software design as it helps the teams in developing a user-centered product that completely represents them as well as is built in a way that suits the needs of the users.
In a world where softwares fight for user attention span, creating user personas is the first step to build a user-friendly product.

Competitor Research:
Keeping the competitors closer, one needs to analyze both the strength and weaknesses of the competitor.
A competitor’s research is a good starting point to understand why and how something is already accepted in the market.
We live in a world where every idea is being built in some form or the other. So when our customers point out that they do not find anyone ever built this idea before, rather than being happy, we are cautious. In such a situation, we always suggest that it is important to check why a particular idea has not been built. Is it due to some external or environmental constraint or is there a blocker for end-users? You can find your competitors in various ways.
- The first and simplest is just to Google your value proposition. Like if you are building Uber for X, just Google that and see what websites/Apps props up for it.
- Other ways of doing competitor research include checking competitor ads, tracking their emails, landing pages etc. The same can be achieved with a plethora of available tools as well.
Read more about knowing your competitors here
User Survey:
A user survey is an important part of your journey to identify your user needs and expectations. A survey has to be created in a manner that it is able to recognize the latent needs and aspirations. Questions should be open-ended and the survey should be taken on a phone or in-person rather than over email. Sample questions that we insist to be used for a product survey are
Q. How do you solve this problem currently?
If they do not solve it then possibly it is not important for them
Q. Do you use any tools for solving this problem?
This will give you a sense of competition.
Q. How willing are you to change your current tool if a better solution is available?
This will tell you how strong is the competitor placed in the minds of your audienceTools such as UsabilityHub can be great to create tests that you can use to get an opinion about any visuals or content etc.

Finalizing Priority Areas:
Setting priorities completely depends upon the goals of the product in the current phase. When the teams set clear and well-established goals they tend to clarify their priorities easily because they have the primary focus and therefore they possess a clear vision of what they need to work on first.
We suggest making 3 buckets namely Could Have, Would Have and Must Have and put all features in either of the buckets. We also do voting exercises during the wireframing stage to prioritize features.
Information Architecture:
Once the team has gathered all the information, an information architecture helps to organize the information into a hierarchy-based flowchart that encapsulates the different modules within the platform and how they are connected with each other. This way, one can figure out how users would navigate through the functionalities of the product and find everything they need.
In Summary, the team gets a complete blueprint ready that becomes the roadmap for the developers to follow. At the end of the design process, the team creates wireframes for the project. The wireframes put everything together with a clear roadmap to follow. Backed on ample user research and a scientific approach the team has now built a strong foundation of the product. Conclusively, the idea is now ready to go into the next stage.
2. Decide Phase
Coming to the next phase in the software development process, we get to decide on the various aspects of the product. This step involves planning different things related to the technology aspects and creating a development roadmap. The Deciding Phase includes the following areas of work:
Scoping the project:
This is where all stakeholders like project managers, developers, and customers have to come in and define the timeline and cost of the product.
Scoping involves building the execution plan for the project.
The product development is then divided into smaller phases of work, called milestones. Every milestone has a list of features defined that would be built during this phase. Milestones can be attached with a payment plan as well. A milestone may further be divided into multiple sprints.

Fig. Scope that has multiple milestones and each milestone having multiple sprints
A properly defined and managed scope leads to a proper plan which then results in a successful execution of a project within agreed costs and specified schedule. Proper scoping helps define the boundaries of the project, ensures the understanding of the project and sets the foundation for project execution. Read more about scoping of the project here.

Here is a sample scope sheet that we use at Mindbowser where we list all function points of the project along with the time associated and the assumptions. This way a granular plan of the project is created ensuring that the team is on the same page for even the smallest aspects of the project leaving no room for confusion.
User Stories:
A user story can be defined as an informal and general explanation of a feature in the software that is expressed from the perspective of a user.
User stories are the core component of a development process and they help in articulating the value that your work will deliver to the end-user. These stories are written in non-technical language and tone to provide a context for the development team and their work. User stories help put the user in the center of product development. User stories should be developed for each sprint before the start of the sprint.
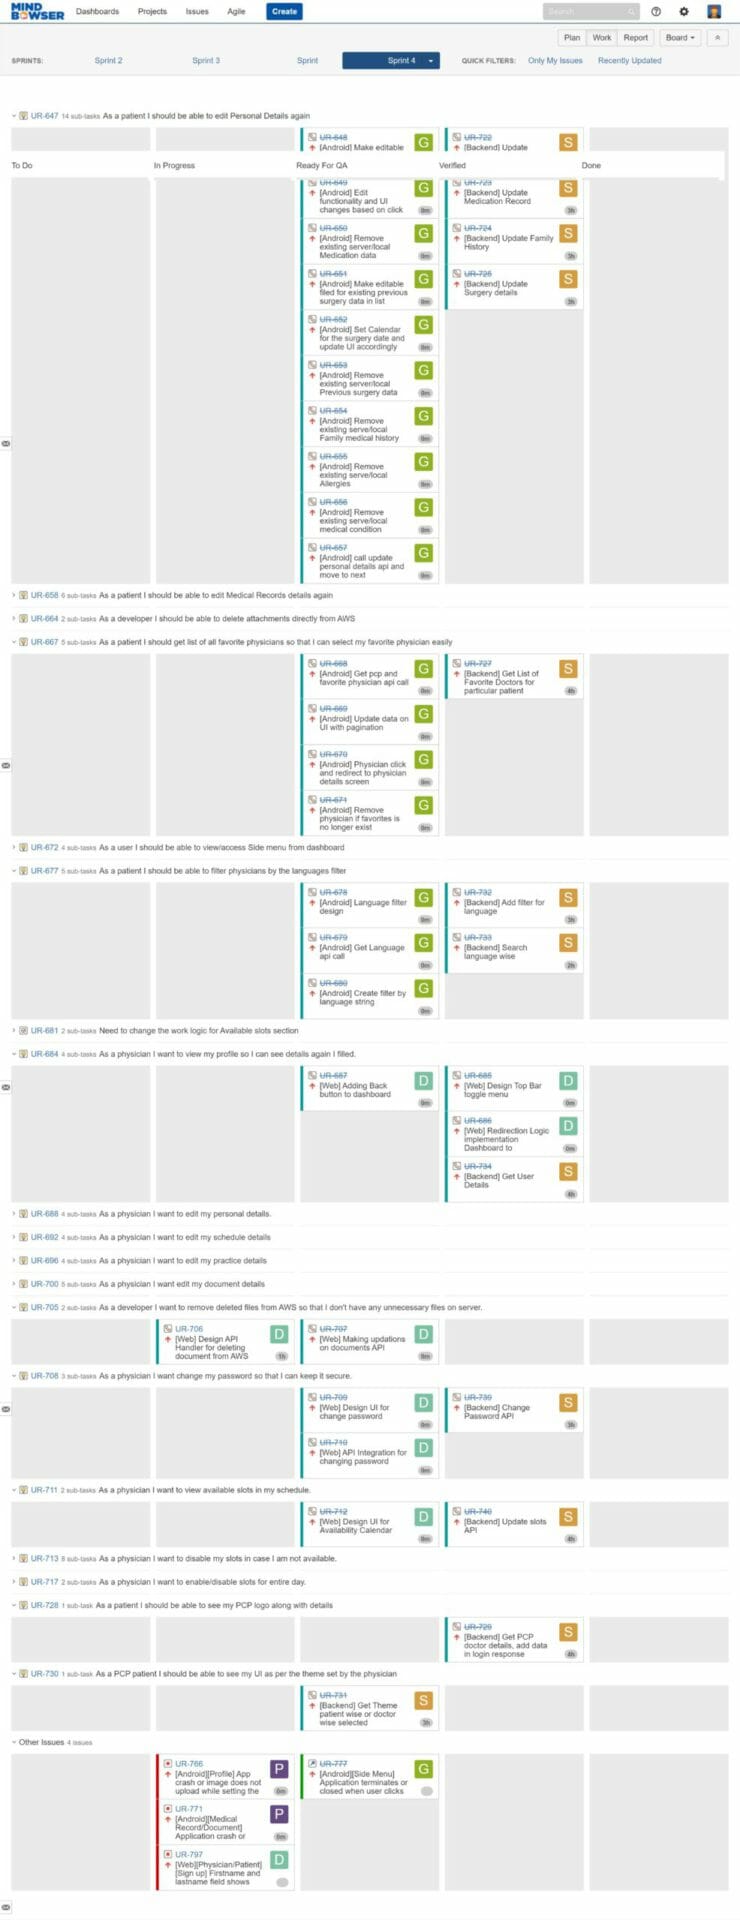 Fig. Sample User Stories
Technology Stack:
Choosing among the technology choices is another key decision for the product. You may have to choose between native and cross-platform, serverless and server architecture, different cloud and hosting, technology for frontend, backend, databases etc. While your technology team can always guide you in the process, a few things to keep in mind are:
- Choose an established technology: Technology evolves with an ecosystem that includes support, developers, documentation, fixes etc. An established technology has all of the above already in place. If you choose a new technology, you will always find difficulty in hiring or switching teams.
- Refrain from using a new library: There are a lot of technology options, especially libraries that are released on a daily basis. Most of them are yet to evolve and debug. You could face errors in your platform later if you use any such unreported library. Such dormant libraries also become defunct after some time. Hence, check and make sure that the libraries that you are using are evolved and continuously updated.
- Use Common sense: Often, founders get swayed by blogs or community threads they find on the internet. While they are good pieces of information, your technology choice should not be based on a single blog or news. Try going deeper, search for more reviews and pros and cons and then make your decision.
- Define the architecture for scale: While you may be planning to build just the MVP, the right technology foundation is always handy. The architecture of a platform is something that cannot be changed later and hence, while deciding technology, choose the architecture too.


Priority Features/MVP (Minimum Viable Product):
Building a minimum viable product (MVP) is definitely a better way than to keep building for years. Once you have your specs defined, go back and cut your specs to a more manageable sprint.
Product development is a process of continuous pivot and experiments.
- Your product should be built in phases of feedback-build-feedback-build and so on. It does help to talk to users before you finalize your priorities for MVP.
- Timebox your specs into a version that goes no longer than 6 months and launch the product. Sometimes you may come across literature pointing out building an MVP in a weekend or a week. Well, understand that a weekend MVP is just something that adequately demonstrates your idea so that you can get proper feedback from your target customer. It may be a landing page, maybe it’s a video. What it’s not, is months of time and money sunk into creating a comprehensive real product that really works.
Timeline and Delivery Dates:
With the scope firmed up, finalize the sprint dates and timelines.
- Divide the complete project into functionality-based sprints.
- Discuss within the team about priorities, launch date and anything associated. The timeline and delivery date give a concrete plan to win every week.
- Whenever making a plan, make sure that all assumptions are answered and any dependencies are solved before the sprint has to start.
- Proactive planning and regular introspection are a must to keep the plan on track.
- Once the project timelines are decided your technical team can check for dependencies and risks associated with each sprint. Accordingly, then the team can set schedules and the frontend and backend team can work in sync.
Creating and setting up the project plan:
The project plan is the summary of all the moving parts above and putting everything to execution.
The project managers come in and define the scope for the product such as the different sprints, the team and its compositions, goals and KPIs for the entire development process, the objectives to be completed, timeline estimates related to the different tasks.
Here you map the sprints with the team involved. Set up user stories for each developer and put a timeline so that the complete initiative works in unison.
Fig: Sample Resource Allocation Plan
In summary, the Decide Phase is a concise set of all the steps that are taken to define tasks and do the documentation needed for several aspects of the project. This phase controls different factors related to the project such as the schedule and the feasibility of processes involved. At the end of this phase, the product should be all set to launch to development. At this point, everything should freeze and for the upcoming stages, the plan should be to stick to the plan.
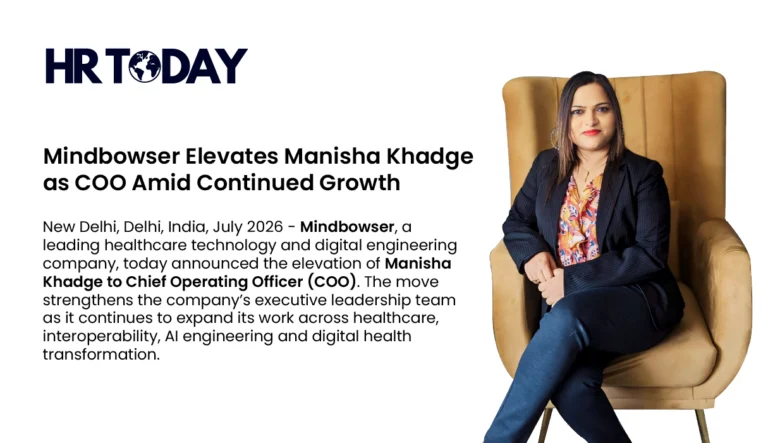
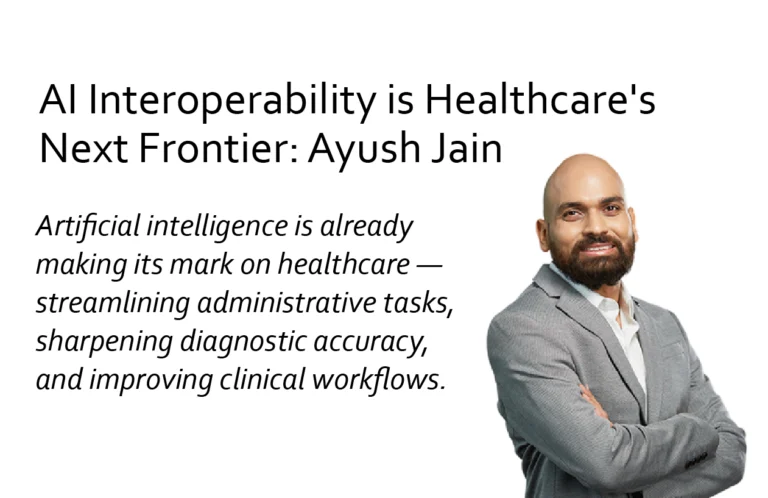
Ayush Jain, CEO & Co-founder of Mindbowser Group
At Mindbowser, my CTO and I teamed up to build an agency that can bring the best of tech and knowledge to founders.
In case you would like to discuss your options further, feel free to get in touch at ayush@mindbowser.com or book a 30 minutes free consultation call!
Get Free Consultation!3. Development Phase
With your software design ready to go and the functionalities well-defined, it’s time to kick off development. This is where the magic starts to happen and ideally you should be able to see your idea take shape incrementally every fortnight. Of course, you do not have to let your guard down. It is time to reap the benefits of the work done earlier. The possible risks may be in the form of low-quality development, inefficient workflows or even missing the product scope altogether.
Here are the things to look up to during the development phase and get clean and efficient software built altogether-
Running Sprints:
A Sprint is a technique used by development teams in which they work to accomplish a set number of tasks during a stipulated timeline.
Sprints are a way to divide the project into smaller parts, focus all energy on those parts and get them done.
Running sprints is beneficial for development teams in many ways such as it allows for better management of the project, lets the teams deliver high-quality work, carry out tasks much faster and more frequently, and even test better. Apart from the benefits, sprint helps the teams in solving bigger problems by breaking them into smaller efficient chunks. Tools such as Jira or any other project management software can be used to monitor sprints for efficiency and progress.
“Always have a sprint planning meeting at the start of the sprint and a sprint retro at the end of the sprint. Remove any distractions during the sprint and make sure that user stories are really detailed to avoid the team investing time in understanding them.”
Testing at every opportunity:
Well proper testing is a must and do understand that your developers are not testers and you need a dedicated QA person.
Developers miss bugs because they have built the software according to the use cases they already know, but the end-users have other use cases as well and hence the role of a tester is crucial. Also, developers may sometimes miss a scenario deliberately. What if the developer does not check the platform on different browsers apart from his own. Now things may seem to work perfectly in his conditions but the users may use different browsers and may use the system at different internet speeds.
Testing is done in a development environment or special testing environment.
- Test thoroughly at every sprint.
- The team should define a process to manage bugs and get them fixed. A mix of automation testing and manual testing can do good.
- Setting up a few ground rules for quality can decrease buggy instances by more than 50%. For e.g, if you let the dev know in advance that they have to check a certain use case or functionality every time, which you think is crucial, the team can just put that as part of the process.
- Additionally, make sure that the QA is part of the sprint meetings and understands the product well so that he/she may really think of border case scenarios as well as go deep as a user.
Environment Setup:
You need the proper server environments to be set up for your development, staging and testing. Additionally, integrating CI/CD pipelines and automating workflows means that your team can deploy continuously without a hitch. Automated testing too can take care of integration and test cases. Development teams should set up a cloud server on Amazon or equivalent and make use of the plenty of services that are meant to improve the development process.
“Development and Production server should be on the same servers like AWS or equivalent otherwise things may break when code is moved from development to live. This is because each service has its own terminology and endpoints that need to be mapped.”
Services like AWS also enable the project managers to control the access to concerned AWS services and resources more securely by using AWS Identity and Access Management option (IAM). Adding the developer under IAM profiles lets the development teams secure access to project assets and services. Your server environment will allow you to test products in complex environments.
Integration testing can help check program behavior with 3rd party APIs such as Google, Facebook, Plaid, Stripe etc before going live. Most integrations have a development/sandbox environment where you can test with sample data. Your staging server is like the last checkpoint where you test before going live. It’s always useful to keep development and staging servers separate. On the staging server, test with real data.

Fig: Sample Pipeline Architecture For Code Flow
Code Repository Setup:
A code repository is a file archive facility meant for storing the code.
Not only does code repository keep the code safe, but it also allows version control, management of separate copies of code, sort code by contributor and contribution and makes for good practice to manage code. Imagine the team working without a code repository and realize that they made a mistake after writing 10000 lines of code. Now without a code repository in place, there is no way to roll back changes to a previous day. A code repository does that for you. Additionally, you can also manage access and control for different people. The process of making different smaller copies of code and merging them after testing is called Branching.
Making Marketing & Launch Plans:
As the teams get closer to ending the development phase of the SDLC, they can start their transition to the last phase, the Launch Phase in which they have to work on the launch plans of the product. But the preparations for the last phase can begin during development. User testing, including growth hacks in the platform flow, can all be planned during development. Usually, a window for improvement can be kept between the end of the development phase and the start of the launch phase. During this time, teams can discuss improvements, user on boarding journey, coach marks and tutorials to be kept in the app as well as setting up terms and conditions and support. While these things may come at the last, they are equally important for a successful launch.
In summary, the development teams get the product ready for deployment and they now have to work on the launch of the product. The development phase has brought the SDLC to almost completion and at the end of the next phase, the team would see their product in the hands of their users.
4. Launch Phase
The launch is the logical conclusion of your journey. This is where you get to share your product with real users. There are several productions, deployment, and post-production activities involved in this phase. Use automation for deployment and integrate 3rd party libraries to capture bugs and issues on the go. Apart from this keep a feedback mechanism and track usage within the platform. Here are the major steps to get you started.
Integration testing:
When the software becomes live on servers, its testing is carried out in an integrated software environment for verifying the behavior of the whole system. This testing is carried out to evaluate the compliance of the software with its specified requirements.
In integration testing, teams get to verify the interactions as well as testing the interface between different modules of the software system as well as the 3rd party APIs. It is done to detect any possible defects in the system at the earliest so that they can be fixed. It also gives information to the teams about the acceptability of the modules in the software. Controlling data flow, memory usage, correcting software requirements, etc. are other benefits of Integration Testing.
Catching any Bugs:
At the final stages of SDLC, development teams work on finding bugs in the application. When the application is deployed on live servers and users have access to it, then bugs that could have missed the eye during normal testing of the application or individual processes are found. Those bugs are reviewed, tied to an individual piece of code, and traced back to any previous changes so that the whole system doesn’t face difficulties. Further loss is prevented by this step.
While testing could have been done during development, most of the time for those testing, QA may have just created enough use cases for testing purposes. For live testing, you need real data and real servers, hence add multiple people to test with enough data to be able to test comprehensively and to make sure that even border cases are covered. If you have an insufficient database or inefficient code or a slow server, these all need to be rectified before launch.
Adding useful 3rd parties:
Add 3rd parties like Crashlytics, Flurry, Mixpanel, UXcam, Clarity etc to monitor the usage of your platform and check how users are interacting and using the application. 90% of the time we have seen surprises when going through user logs. These data points would help to create plans for the next version as well as upgrades.
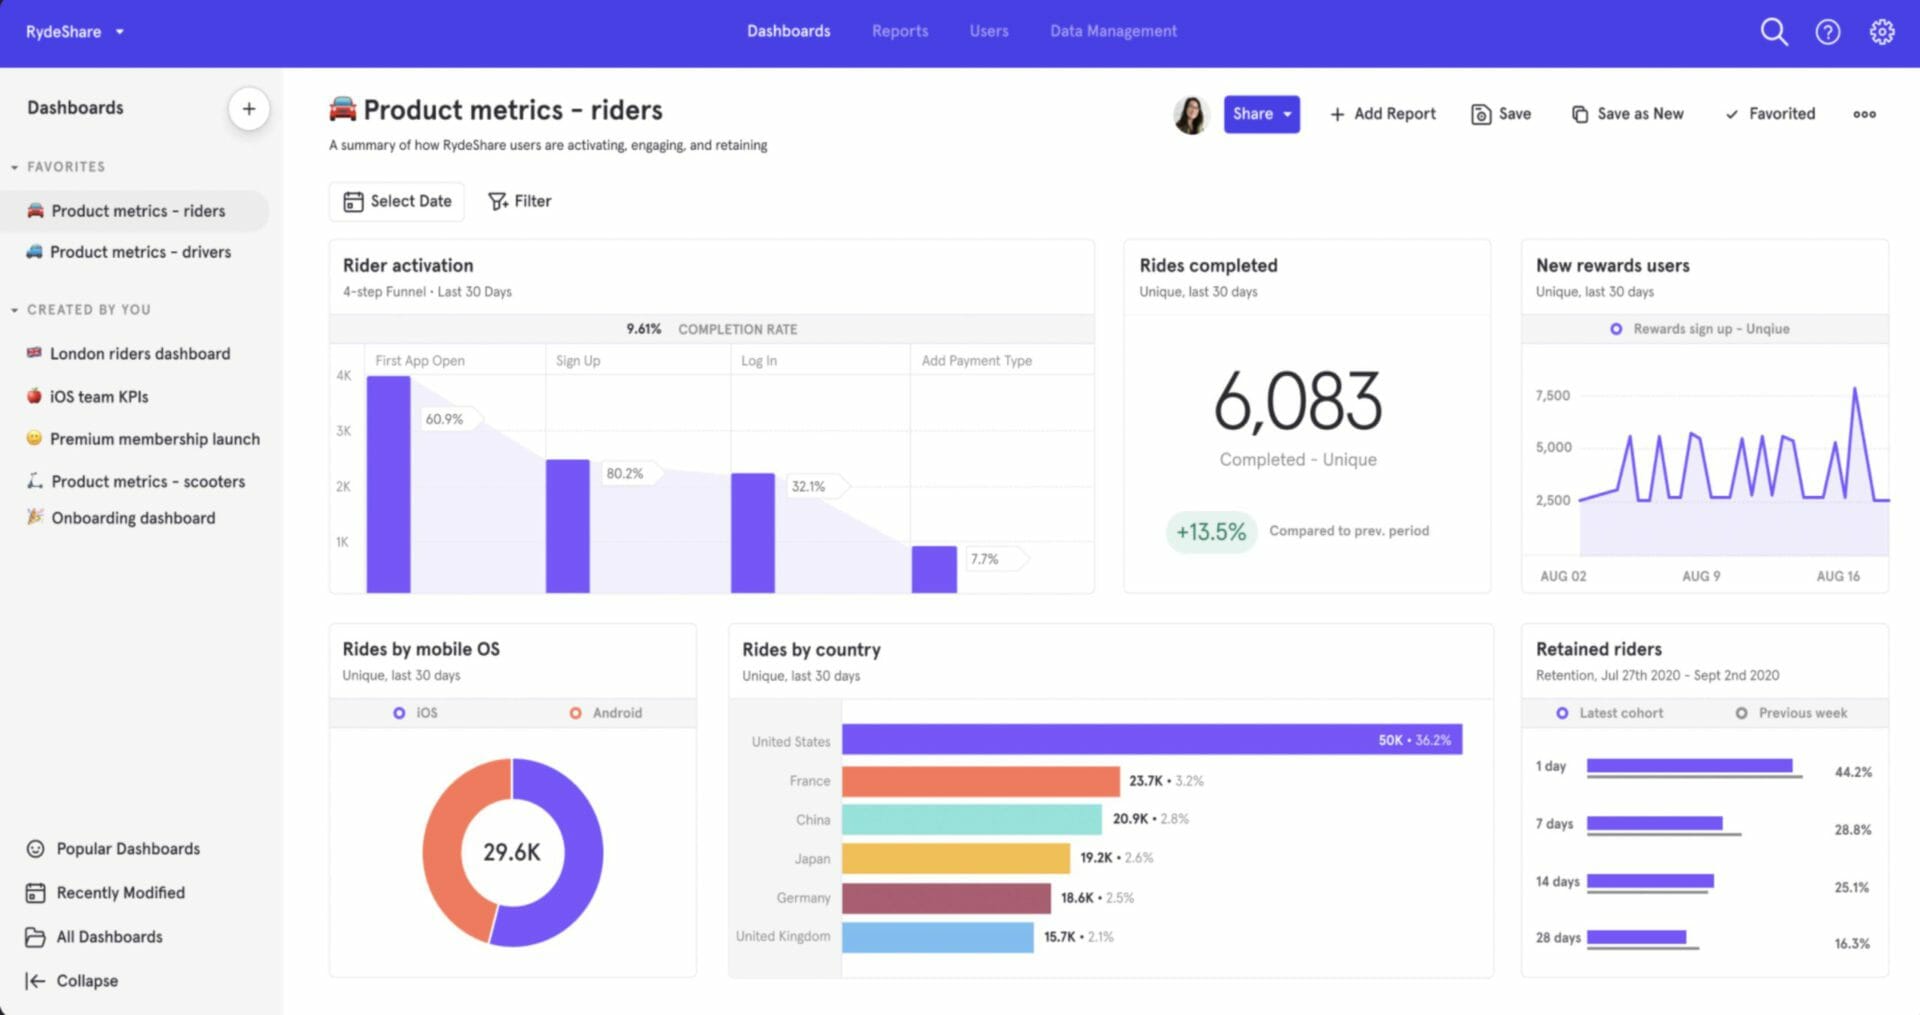
Fig: Dashboard of Mixpanel
Getting ready for marketing:
Once the application is ready it is time for dressing up. For mobile apps, this would be app store optimization with screenshots, descriptions, offers and reviews. For web applications, it would be around landing page optimization, SEO, checking funnels and propositions. You need to also plan for actions that happen when a user signs up or installs apps, like sending an email or setting up a demo call with the user. Also, need to plan out your paid ads strategy.
Setting up Monitoring and logs:
While the tools mentioned above would help you with user data, you also need to set up cloud and traffic monitoring to manage server load, security and compliance. A dashboard can be set up where you get all this info in one place along with alerts such as when the application hits peak traffic as well as when it faces any issue. Such proactive monitoring and logs are useful for taking precautionary actions and create a great user experience.

Fig: Sample Cloud Cost Budgeting
Staging to Live Server:
Once the software has been fully tested for any major flaws, it becomes ready for live deployment across servers. The developers run several scripts to establish a database on the live servers before deploying the full application on the server. Teams also check for any bugs or errors on the server itself that may cause difficulty on the client side. Automated deployment is preferred by most developers due to its related benefits such as mitigation of risks and errors, increased deployment speed, and streamlined workflows. CI/CD pipelines are implemented for ensuring the good functioning of the application as well as successful agile deployment.
This is the last step in the development process of the software. A staging server setup is used by the teams to ensure that the code runs and works on production configurations and architecture. This is the final location for the project and when the project is staged onto a live/production server, it is considered to be completed and approved by everyone concerned and becomes open for widespread use. And with this step, the final phase of the SDLC comes to an end with the product being launched and made available to the users.
Conclusion
A successful platform has many moving parts. By breaking the product development process into smaller manageable steps, you can accomplish small wins every day that can turn easily into a successful product. All of the product development steps mentioned in this blog will help you as a guiding light as you move toward accomplishing your vision. The design, the decision, the development and the launch phase are all very important steps for a new product development process. Happy Reading!


