


Klarna was founded in 2005 in Stockholm, Sweden with the aim of making it easier for people to shop online. In the last 15 years, technology has evolved, excited and transformed the world around us, yet our mission remains as relevant as ever, to make paying as simple, safe and above all, smooth as possible.
Klarna is the leading global payments and shopping service, providing smarter and more flexible shopping and purchase experiences to 90 million active consumers across more than 250,000 merchants in 17 countries. Klarna offers direct payments, pay after delivery options and installment plans in a smooth one-click purchase experience that lets consumers pay when and how they prefer to.
When the company acquired SOFORT in 2014 the Klarna Group was formed. Klarna is backed by investors such as Sequoia Capital, Silver Lake, Bestseller Group, Dragoneer, Permira, Visa, Ant Group and Atomico.
Statistics
Klarna is a part of The Klarna Group.
- Total active consumers: 90,000,000
- Total number of merchants: 250,000
- Number of transactions per day: 2,000,000
- Number of employees: 3500
Stripe users in supported countries can enable Klarna payments using Sources—a single integration path for creating payments using any supported method, also consider the option if integration with stripe android.
During the payment process, a Source object is created and your customer is either presented with a Klarna widget or redirected to a Klarna Hosted Payment Page that displays payment options, including Pay now, Pay later, and Financing. Your integration then uses the source to make a charge request and complete the payment.
Within the scope of Sources, Klarna is a push-based, single-use and synchronous or asynchronous method of payment.
U.S. users can accept payments from U.S. customers, and European users can accept payments from customers in the following countries:
| Purchase Country | Country Code | Currency |
|---|---|---|
| Austria | AT | EUR |
| Belgium | BE | EUR |
| Denmark | DK | DKK |
| Spain | ES | EUR |
| Finland | FI | EUR |
| Germany | DE | EUR |
| Italy | IT | EUR |
| Netherlands | NL | EUR |
| Norway | NO | NOK |
| Sweden | SE | SEK |
| United Kingdom | GB | GBP |
Prerequisite: Update Terms and Conditions
Prior to processing live transactions with Klarna, it’s important that you update your Terms and Conditions and Privacy Policy, per Klarna’s requirements.
Step 1 Install stripe
npm i @stripe/stripe-js

index.html

<script src="https://js.stripe.com/v3/" defer></script>
Step 2 Create source object
A Source object is either created client-side using Stripe.js or server-side using the Source creation endpoint. Updatable fields enable you to create a source without providing personally identifiable information (PII), which must be added later using a source update once the customer selects Klarna as a payment option.
Klarna also supports a full-redirect authorization specifically designed for both desktop and mobile experiences. To leverage the redirect flow, you create the source using these additional arguments:
| Parameter | Value |
|---|---|
| flow | redirect |
| redirect[return_url] | The URL the customer should be redirected to after the authorization process. |
To create a Klarna source, call stripe.createSource() with the relevant details:
In your component return the following code
home.component.html
<mat-toolbar color="primary"> <span>Klarna Payment Example</span> </mat-toolbar> <br />

<button md-raised-button color="accent" (click)="pay()">Pay</button>
home.component.ts
import { loadStripe } from '@stripe/stripe-js';
export class PaymentComponent implements OnInit {

stripe: any;
ngAfterViewInit() {
this.initStripeElements();
}

async initStripeElements(){
this.stripe = await loadStripe(Constants.stripePK);
}

pay(){
this.stripe.createSource({
type: 'klarna',
flow: 'redirect',
redirect: {
return_url: REDIRECT_URL
},
amount: 816,
currency: 'eur',
klarna: { product: 'payment', purchase_country: 'DE' },
source_order: {
items: [{
type: 'sku',
description: 'Grey cotton T-shirt',
quantity: 2,
currency: 'eur',
amount: 796
},
{
type: 'tax',
description: 'Taxes',
currency: 'eur',
amount: 20
},
{
type: 'shipping',
description: 'Free Shipping',
currency: 'eur',
amount: 0,
}]
}
}).then(function (result) {

setTimeout(() => { window.open(result.source.klarna.pay_over_time_redirect_url, '_self'); }, 2000);

}, err => { console.log(err); });

}

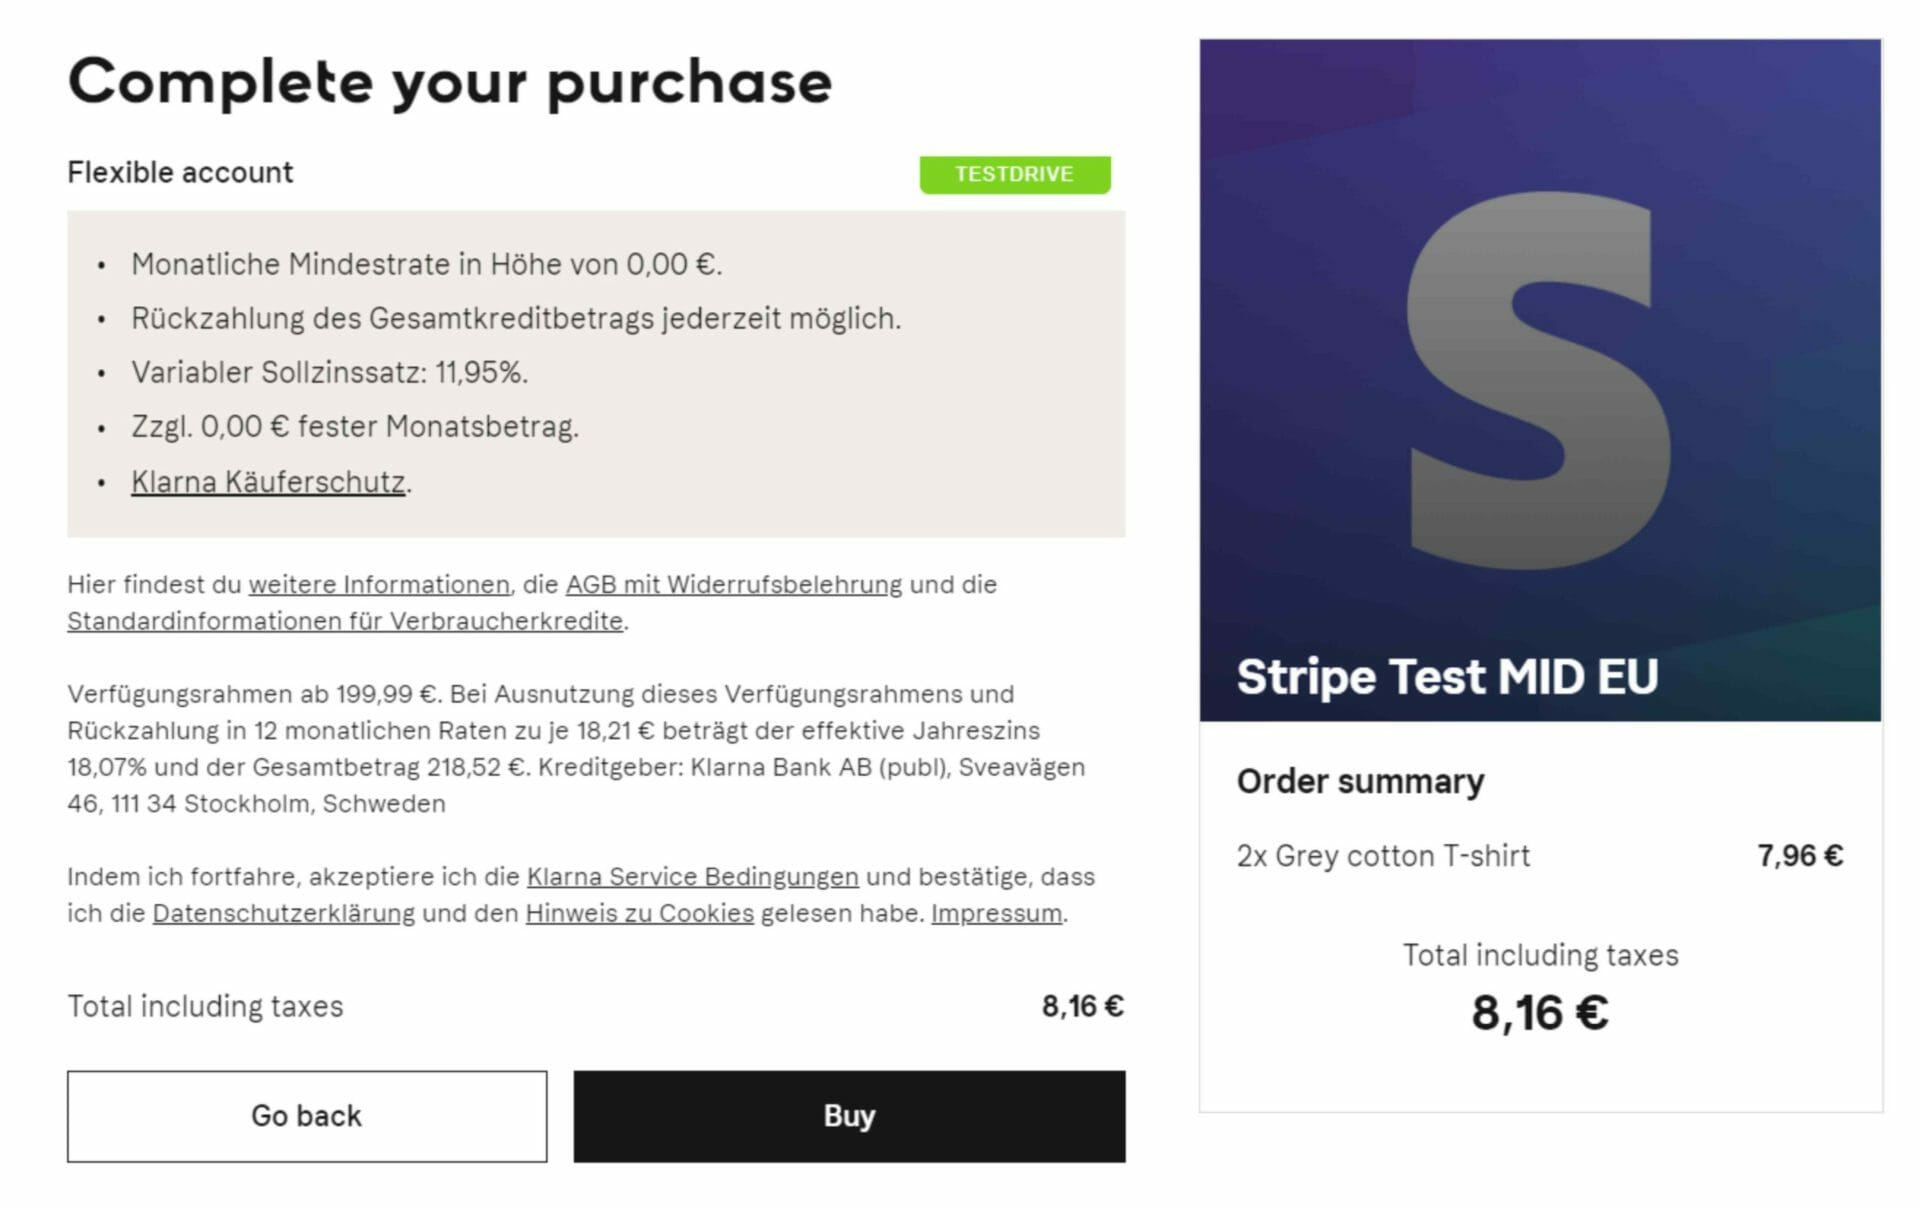
After clicking on the pay button the user will redirect to klarna pages.
Using either server-side or client-side source creation, Stripe returns a Source object containing the relevant details for the method of payment used. To allow your customer to authorize the payment, redirect them to one of the URLs provided within the Source object, eg:
klarna[pay_later_redirect_url], klarna[pay_over_time_redirect_url] or klarna[pay_now_redirect_url].
When flow is set to redirect, Stripe returns a Source of flow redirect. To allow your customer to authorize the payment, redirect them to one of the URLs provided within the Source object, eg: klarna[pay_later_redirect_url], klarna[pay_over_time_redirect_url] or klarna[pay_now_redirect_url].
If the customer is redirected to redirect[url], Pay later will be used if it’s available.
After the authorization process, your customer is redirected back to the URL provided as the value of redirect[return_url]. This happens regardless of authorization success or failure. Stripe appends redirect[return_url] with a redirect_status parameter, with the following potential values:
| Value | Description | Suggested Action |
|---|---|---|
| Canceled | The customer abandoned the payment flow. | Reload the checkout page with the same options. |
| Failed | The customer was not eligible for the selected Klarna method. | Reload the checkout page with the remaining eligible Klarna payment_method_categories. |
If the customer authorizes the payment, the Source object’s status transitions to chargeable when it is ready to be used in a charge request. If your customer declines the payment and no other payment_method_categories are available, the status transitions to failed.
Step 3 Charge the source
Once Klarna authorizes the payment, the source’s status transitions to chargeable and it can be used to make a charge request.
You can see in dashboard

Since that transition happens asynchronously, it is essential that your integration rely on webhooks to determine when the source becomes chargeable in order to create a charge. Please refer to our best practices for more details on how to best integrate payment methods using webhooks.
Webhooks
The following webhook events are also sent to notify you about changes to the source’s status:
| Event | Description |
|---|---|
| source.chargeable | A source object becomes chargeable after it has been authorized by Klarna. |
| source.failed | A source object failed to become chargeable. |
| source.canceled | A source object expired and cannot be used to create a charge. |
Make A Charge Request To Finalize The Authorization
Once the source is chargeable, from your source.chargeable webhook handler, you can make a charge request using the source ID as the value for the source parameter to complete the payment. The amount must match the Source object’s amount.
When selling physical goods, you should pass the capture: false flag to the charge request to let Klarna know that you’re working on fulfilling the order. Once all items have been shipped, send a capture request to let Klarna know that the order has been fulfilled. Note that the order must be fulfilled within 28 days. Only one capture, less than or equal to the charge amount, is permitted. Any remaining amount will be released back to the customer.
Call the following API and pass the amount, currency, sourceId in the request body from the REDIRECT_URL component and according to the response show payment success message to the user.
// See your keys here:
https://dashboard.stripe.com/account/apikeys

const Stripe = require('stripe');

router.post('/charge-source', (req, res, next) => {
const stripe = Stripe('secret key');

const charge = await stripe.charges.create({
amount: req.amount,
currency: req.currency,
Source: req.sourceId
});
return charge;
});
Optional: Authorizing The Payment And Capturing Immediately
By omitting the capture parameter or sending capture: true, Klarna assumes that the order is immediately fulfilled. This is handy if you’re selling digital goods.
Step 4 Confirm that the charge has succeeded
Once the charge is confirmed—and the funds guaranteed—its status is updated to succeed.
One of the following events is sent when the charge’s status is updated:
| Event | Description |
|---|---|
| charge.succeeded | The charge succeeded and the payment was complete. |
| charge.failed | The charge has failed and the payment could not be completed. |

Conclusion
So here we are, we learn to use sources to accept payments using Klarna and steps to implement klarna payment. For more information please visit the document.